It is made out of that cultured marble (which is just a fancy way of saying plastic that has swirls of color in it that someone at one time looked a little like marble). I did some research and found out you can paint it. Now, since I don't have the money to replace the counter, it will still be same all one piece counter with a sea shell shaped sink. (Horrible, I know) But at least I could modernize the color.
These are a couple of before pictures. Beware: the 1980's are about to slap you in the face.


The first step was to sand... a lot. All the gloss had to be stripped off so that the paint would stick. The research I found suggested that spray products be used instead of a brush or roller. So I went and looked around Home Depot. I found this super awesome waterproof high gloss primer and paint in one... in a spray!! That is what I decided to use because being able to skip the priming step sounded like a great idea to me.
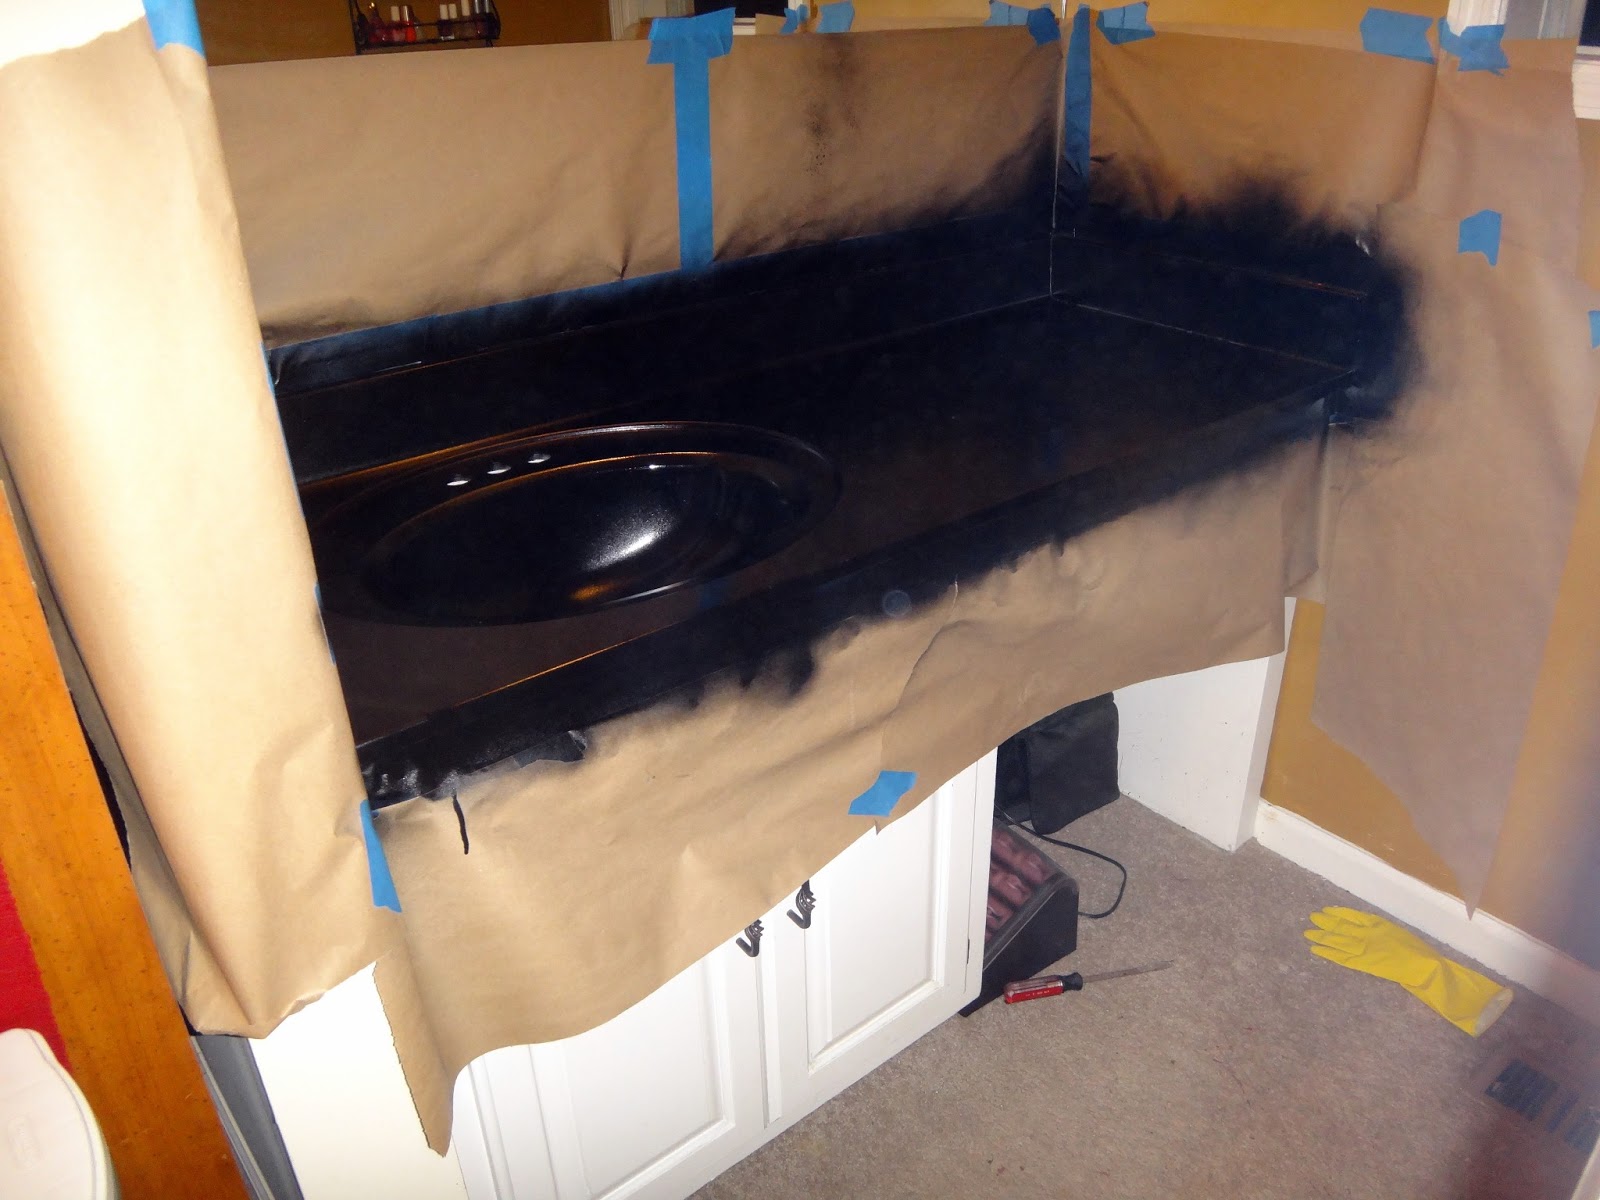
The next step involved me taping off 12" Paper with 2" tape. I wanted to make sure the spray didn't get anywhere except where I wanted it. Then I sprayed two coats of paint and primer. This is what that looked like

The next step was the polyurethane. That took some serious waiting time. I think that was the worst part. Spray... wait 4 hours...spray again....wait 4 hours...spray again. I only did one coat at night since I started this project at 11:00 pm. It took four hours to get the faucet off, sand, clean, let dry, sand again, clean and let dry, tape off, paint, let the first coat dry, paint the second coat, let that dry, and paint the first coat of polyurethane. Not too shabby. (Even if that did end up with me not going to sleep until 3:30). I slept on the couch because of the crazy fumes that had taken over my bedroom and bathroom. This severely confused my dog. But he was extra snugly and made my night on the couch very cozy.
Fast forward to Saturday...
The next day I did 2 more coats, let them dry then took the paper down and installed the new faucets and voila! New counter top!


Before and After

The grand total for this entire project was $55!!! Even the absolute cheapest counter top would have been so much more than that. It has a few imperfections, but for the price and the fact that I started it Friday night and was finished Saturday night... I can't beat it.
There will most likely be more home projects happening soon. But this is all I have money and energy for right now.
7 comments:
I used your method today to go from a builders grade off white cultured marble to a metallic brownish bronze. I chose to use Minwax Helmsman Spar Urethane for the final topcoat since it's supposed to be good for areas that get a lot of exposure to water (and my contractor suggested it). Everything is still taped up and I'm waiting for my urethane layer to dry, and I'm so anxious to see how it looks. Our master bath is undergoing a major transformation, and I think this was the perfect fix instead of having to custom order a vanity top in our 40.5" size. Thanks for the tutorial!
Omg!!! That looks so amazing!!! Well done!
=D
Jaye
Dana - I'd love to see some pictures. I bet it turned out lovely
Jaye - Thanks! It was a lot of fun.
How is the counter top holding up? My friend did this and may have used different products, hers is peeling up where it is exposed to hot iron and a little in the sink part as well.
"How is the counter top holding up? My friend did this and may have used different products, hers is peeling up where it is exposed to hot iron and a little in the sink part as well."
--- I did this over a year ago and it still looks the same. I thought maybe I would need to avoid curling irons or need to use different cleaning solutions, but that wasn't the case. It has held up to any abuse I've thrown its way.
What type of spray paint was used to cover.As well as top coat.
What product did you use?
Post a Comment